
What Separates Quality Joint Sealing Specialists on the Gold Coast
If a “joint sealing specialist” can’t explain their surface prep in plain language, I don’t trust the rest of the quote. Harsh? Maybe. Accurate? Pretty often.
On the Gold Coast, the environment is the real client. Humidity hangs around. Salt gets everywhere. UV cooks sealants that looked flawless on day one. The crews that consistently deliver don’t just “apply sealant”, they run a process. Same steps. Same checks. Same documentation. And when something does go wrong (because sometimes it does), they’ve got a warranty that reads like a real contract, not a vibe.
One-line truth:
Good joint sealing is boringly methodical.
The “Looks Fine” Trap (and how to avoid it)
You can spot sloppy work faster than you think, but you have to stop judging it like paint.
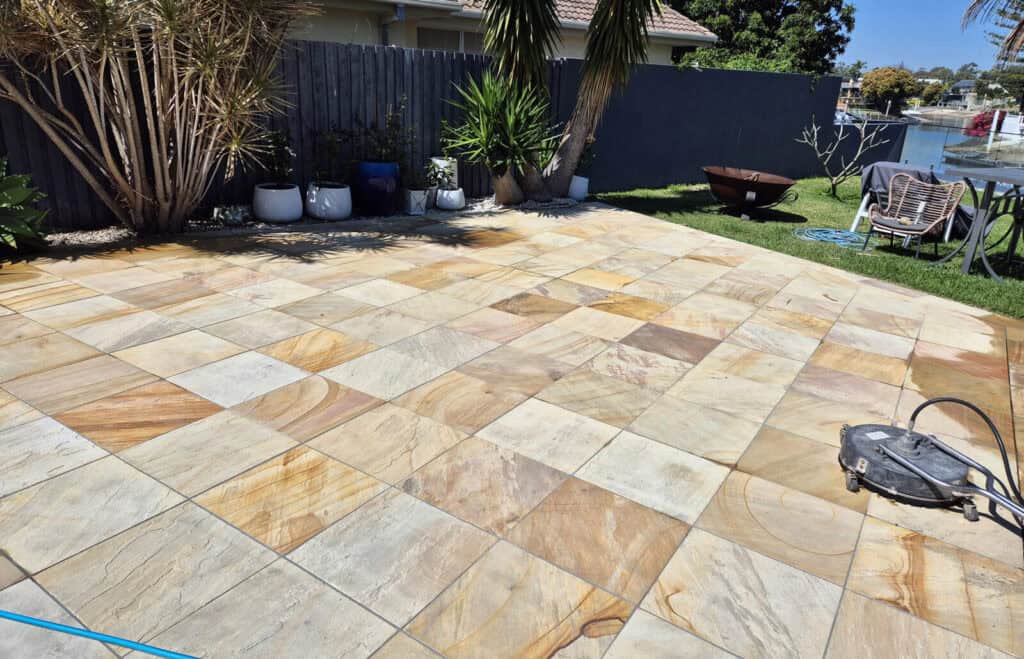
A quality bead is smooth, uniform, and properly tooled, sure. But the bigger tell is what you can’t see: adhesion at both sides of the joint, correct depth, and movement capacity. I’ve seen gorgeous beads fail in months because the joint was too deep, no backer rod was used, and the sealant ended up doing structural work it was never designed for. That’s why experienced Gold Coast joint sealing specialists focus just as much on joint preparation and movement design as they do on the finished appearance.
Look for:
– No gaps, bubbles, or edge pull-back (those are early adhesion red flags)
– Consistent bead width through corners and transitions
– No tackiness past stated cure time (unless weather conditions explain it and they documented that)
– Clean lines without frantic over-tooling, excessive smearing often means the applicator was fighting the product
And yes, tool marks matter. Not cosmetically. Technically. Even tooling = even compression = better wetting-out on the substrate edges.
Gold Coast climate isn’t “normal weather.” It’s a system stress test.
Here’s the thing: coastal failure isn’t dramatic. It’s slow, sneaky, and expensive.
Salt-laden air plus moisture cycling can undermine adhesion and accelerate corrosion around joints, especially where dissimilar materials meet. UV adds its own punishment, embrittling cheaper sealants and bleaching pigments (colour shift is often a warning sign, not just an aesthetic issue).
A specific data point that actually matters: CSIRO notes that airborne salinity and humidity significantly increase corrosion rates in coastal zones, particularly when protective barriers are compromised. Source: CSIRO, Atmospheric corrosion and coastal environments (CSIRO corrosion resources; Australia-focused).
So when a contractor says “we use exterior-grade silicone” and leaves it at that… that’s not reassurance. That’s a shortcut.
The Coastal Sealant Process (what pros actually do)
Some crews make this look effortless. It isn’t. It’s controlled.
Surface prep: the part that decides the outcome
If you only remember one thing, make it this: sealant doesn’t bond to dirt, chalking, soap residue, or moisture film. It bonds to a prepared substrate.
A serious contractor will:
– inspect joint condition and movement needs before selecting a product
– remove contaminants mechanically or chemically (and not leave chemical residue behind)
– profile the surface if required (grind, abrade, or otherwise create a bondable surface)
– test for moisture when the substrate is questionable (common around tiled wet areas and external slab edges)
– prime when the manufacturer specifies it, not when it’s “optional”
Now, this won’t apply to everyone, but… if the quote doesn’t explicitly mention prep steps, you’re probably paying for the appearance of sealing, not sealing.
Application: geometry beats enthusiasm
A clean joint isn’t just “filled.” It’s shaped.
Backer rod isn’t a “nice-to-have.” It controls depth, supports correct joint design, and prevents three-sided adhesion (which can cause premature tearing). Bead extrusion should be steady, and the profile should be tooled to ensure full contact at both sides.
If you want a quick field check: press lightly near the edge once cured. A well-bonded seal holds. A rushed job sometimes peels like a sticker.
QA: the section most contractors quietly skip
The best outfits run checklists and actually keep them. Time-stamped conditions, batch numbers (for bigger jobs), cure windows, visual inspections, even adhesion checks on test sections.
No theatre. Just proof.
Credentials on the Gold Coast: what to verify (and what’s fluff)
Licensing and insurance aren’t exciting, but they’re the floor, not the ceiling.
What I look for is operational maturity: do they have systems for safety, supervision, defect response, and site documentation? If a company can’t show you how they manage quality across multiple jobs, they’re relying on individual workers “being good”, and that falls apart the moment the A-team is off-site.
A few credibility signals that tend to correlate with good outcomes:
– license details you can independently verify
– current public liability insurance certificate (not “yeah, we’re covered”)
– photo records of prep stages (not just glossy final beads)
– written method statements for complex substrates or high-movement joints
Eco-friendly materials? Fine. I like lower-VOC options too. But I’m not impressed unless the product is proven for the application and environment.
Warranties and aftercare (where you find out who’s serious)
A warranty should tell you what’s covered, what isn’t, how claims work, and what the response time is. If you get a single vague line like “5-year warranty,” push back. Five years of what?
Aftercare is even more revealing. Scheduled inspections, maintenance guidance, re-seal intervals for high-exposure zones, this is where long-term performance actually gets protected.
I’m opinionated on this: if they vanish after the invoice clears, it wasn’t specialist work.
Materials, tools, and technique: the unglamorous durability layer
Sealant selection isn’t just brand preference. It’s chemistry plus joint design plus exposure.
You want products rated for:
– expected joint movement (not guessed, calculated or at least justified)
– UV stability in exposed runs
– wet-area suitability (internal bathrooms are their own beast)
– compatibility with primers and substrates (stone, aluminium, painted surfaces, fiber cement… all different)
Tooling and equipment matter too. Coastal work eats gear. Corrosion-resistant components, sealed housings on powered tools, calibrated dispensers, these reduce variability. Variability is what causes the weird failures that nobody can explain later.
Comparing quotes without getting played
The cheap quote often wins because the scope is foggy.
Ask for a side-by-side scope that forces clarity:
– What prep is included? Cleaning? Abrasion? Priming?
– Which sealant (exact product name) and which primer?
– Backer rod included where required?
– Cure times and site access restrictions?
– Warranty terms in writing, plus exclusions
– Who is supervising, and how QA is recorded
Then compare numbers. Labour hours. Travel fees. Allowances. If one quote is dramatically lower, it’s usually because something got quietly removed.
Red flags I’d take seriously
Some warning signs are obvious, others are subtle.
If you see any of these, slow down:
– “We don’t need primer” said as a blanket rule
– no mention of joint geometry or backer rod
– unwillingness to specify products in writing
– unrealistic timelines (fast doesn’t always mean efficient; sometimes it means wet sealant in the rain)
– no project photos of prep stages
– warranty language that’s basically unenforceable
– strange evasiveness when you ask how they handle failures
Look, good sealing isn’t magic. It’s discipline, material compatibility, and repeatable workmanship, done carefully enough that you barely notice it after it’s finished. That’s the goal. Quiet performance, year after year.